We've found that if we are using a 2 or 3 camera rig, both programs work fine for syncing, but with seven cameras, both programs have trouble and even when it says "it SEEMS reliable" we've found out later that it's not.
And there's nothing more frustrating to me than to spend a long time trying to fix a stitching error, only to discover that the sync was off.
In Premiere, not only can you sync very quickly and efficiently, you can SEE that it is in or out of sync, which is a feature I hope will be implemented in the stitching software soon.
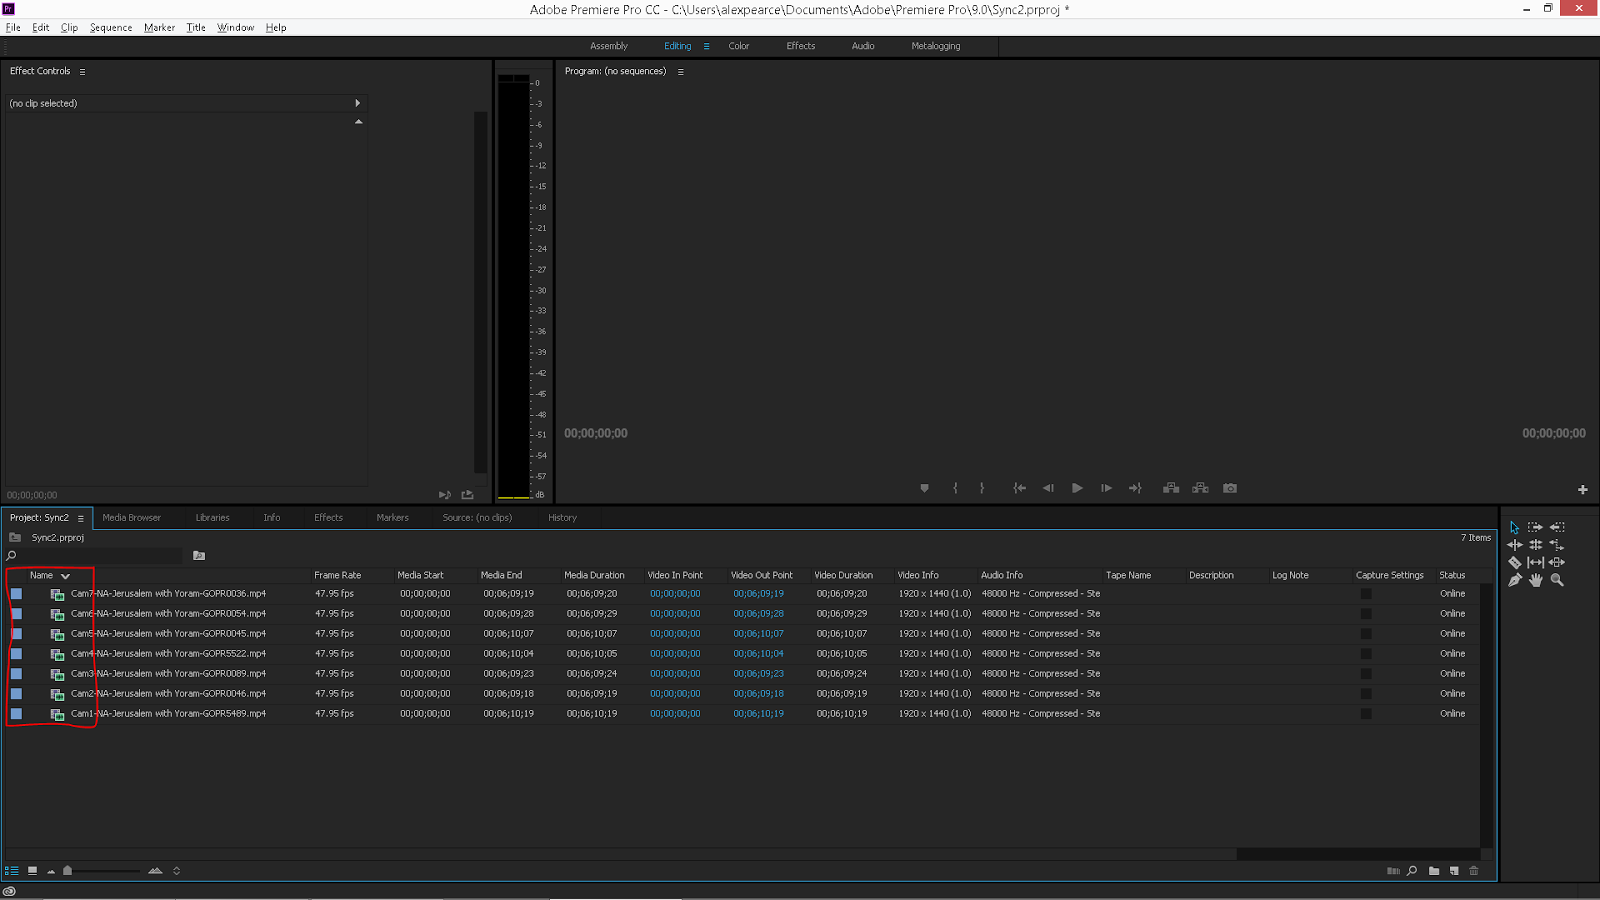
Step 1 - Import all footage.

Step 2 - Sort by name in Reverse order. For example instead of camera 1, camera 2, etc. sort by camera 7, camera 6, etc.
Step 3 - Select all - right click - create Multi-Camera Source Sequence.

A box will pop up with multi-cam settings. Under "Synchronize Point" select audio and under "Sequence Settings" choose "All Cameras". Click OK.

Step 4 - Right click on the newly created Multi-cam Sequence and choose "Open in Timeline". Make sure Camera 1 is on top and your last camera is on the bottom.

Step 5 - Right click on the Playhead Position and change to read in frames.

Step 6 - Check synchronization.
To do this, expand your audio files by holding shift and dragging the audio tracks bigger.

Then zoom in on the timeline where there is a clap or other loud, distinguishable audio peak. If you need to, realign here.

Step 7 - Lock off the audio tracks by holding shift and clicking on the lock on the far left of the timeline.

Step 8 - Drag all the files to match up with the LAST file on the timeline. Zoom in as far as you can to make sure they are all aligned.

Step 9 - Enter those numbers into Autopano Video Pro or Video-Stitch frame offset exactly as they appear.

Step 10 - Save this information in a text document or screenshot, and in the folder where the video files are. That way you will always have your sync information with all your files.
Special thanks to making360, we've modified our approach a little and I believe this is the most efficient way to correctly sync all videos and be sure they are as close as possible.
Frame rate directly effects syncing. If you are shooting at 30 frames per second, the sync can be as much as 1/30th of a second off. 60 frames per second or more is preferred for syncing, but of course there are several other factors to consider when choosing your frame rate (exposure, resolution options etc).
This is the best blog to watch online videos..
ReplyDelete360 video